Leather is a fascinating material, celebrated for its durability, timeless elegance, and distinctive character. However, capturing its unique essence in product photography can be a challenging endeavor. From highlighting its natural texture and subtle imperfections to managing reflections and ensuring accurate color representation, leather product photography demands precision and expertise. The scuffs, grains, and inherent personality of leather can either elevate a product’s appeal or be lost in poor lighting or technique.
This blog is your ultimate guide to overcoming these challenges. Packed with practical tips and tricks, it will help you master the art of leather product photography, ensuring your images not only do justice to the product but also captivate your audience with finesse and aesthetic appeal.
How to Take Great Leather Product Photography: Tips and Tricks
To illustrate the essence of leather goods, photographers must familiarize themselves with various aspects of the craft. They need to have an understanding of suitable lighting techniques, know the best angles to showcase the item’s texture & layout and master the post-production process to create the best images possible. In the upcoming sections, we will discuss the tips and techniques to enhance your leather product photography skills and create stunning product photographs that leave a lasting impression.
Read our blog on Type of Fashion Photography: A View on 9 Different Types
Tip 1: Cleaning and Preparing the Leather
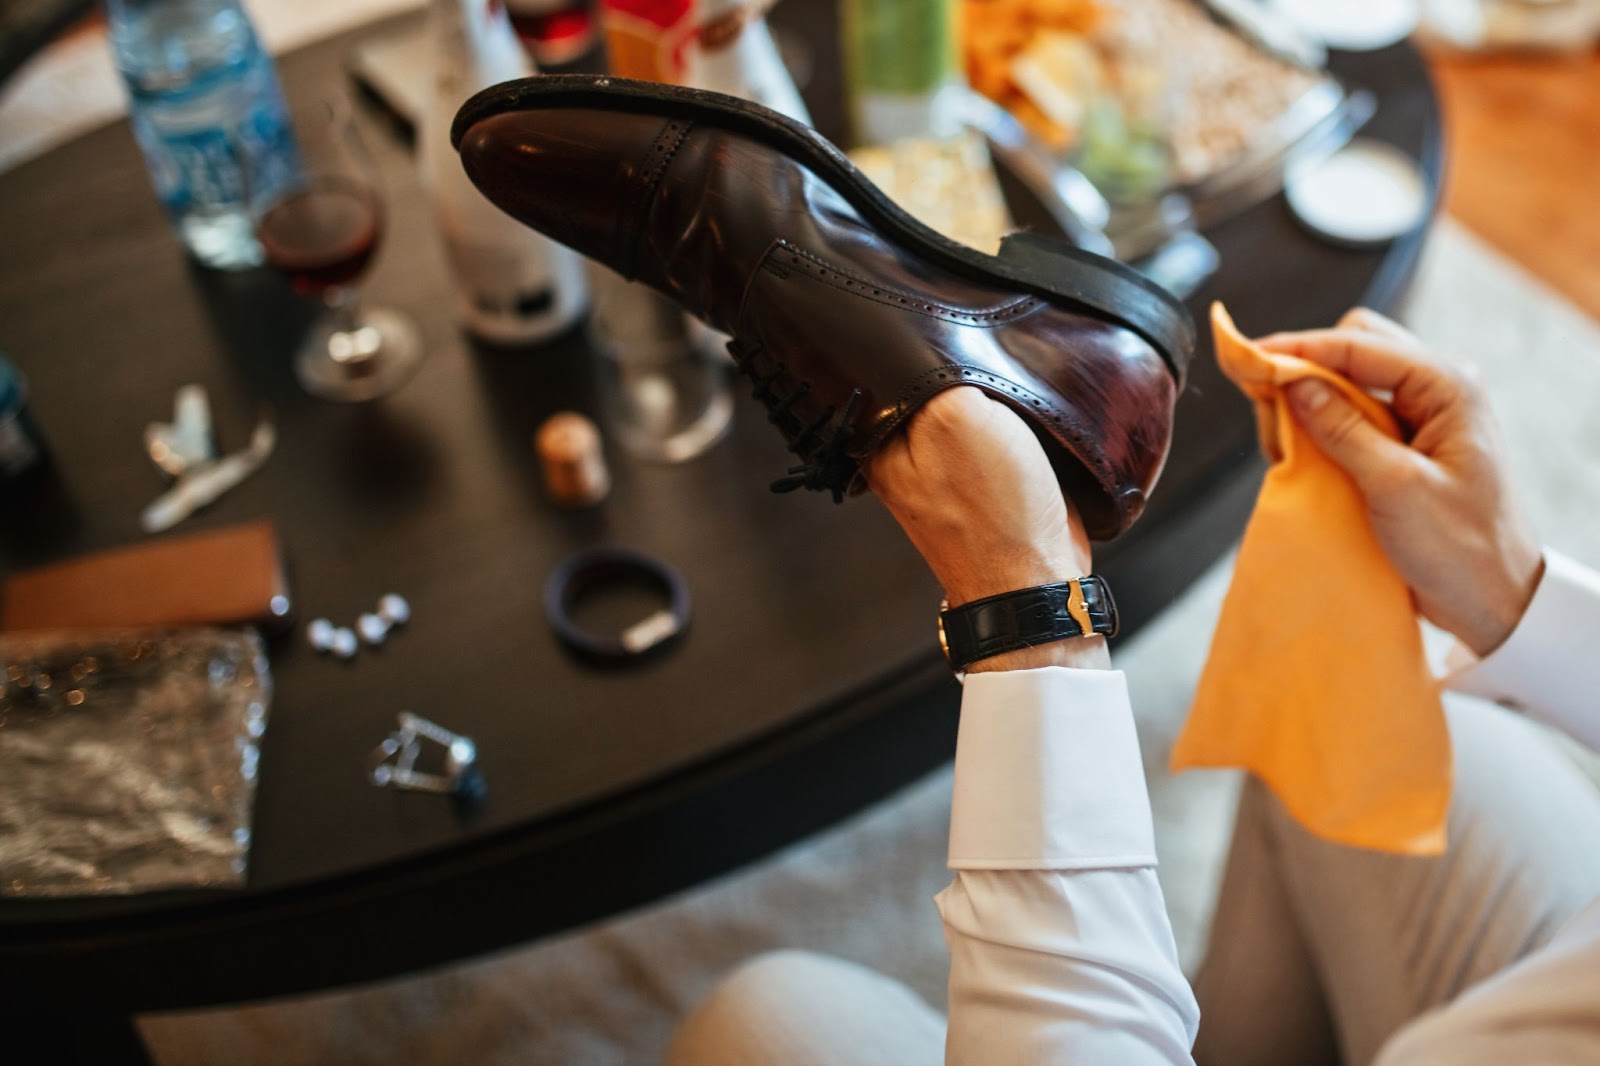
Before starting your leather product photoshoot, ensure the item is clean and free of dust and marks. Polishing may be necessary for certain products like shoes, purses, and formal bags to enhance their shine and appeal.
However, items like jackets, backpacks, or shoulder bags often showcase a rugged, imperfect charm, so over-polishing may detract from their intended look. Tailor your cleaning approach to match the specific aesthetic of the leather product.
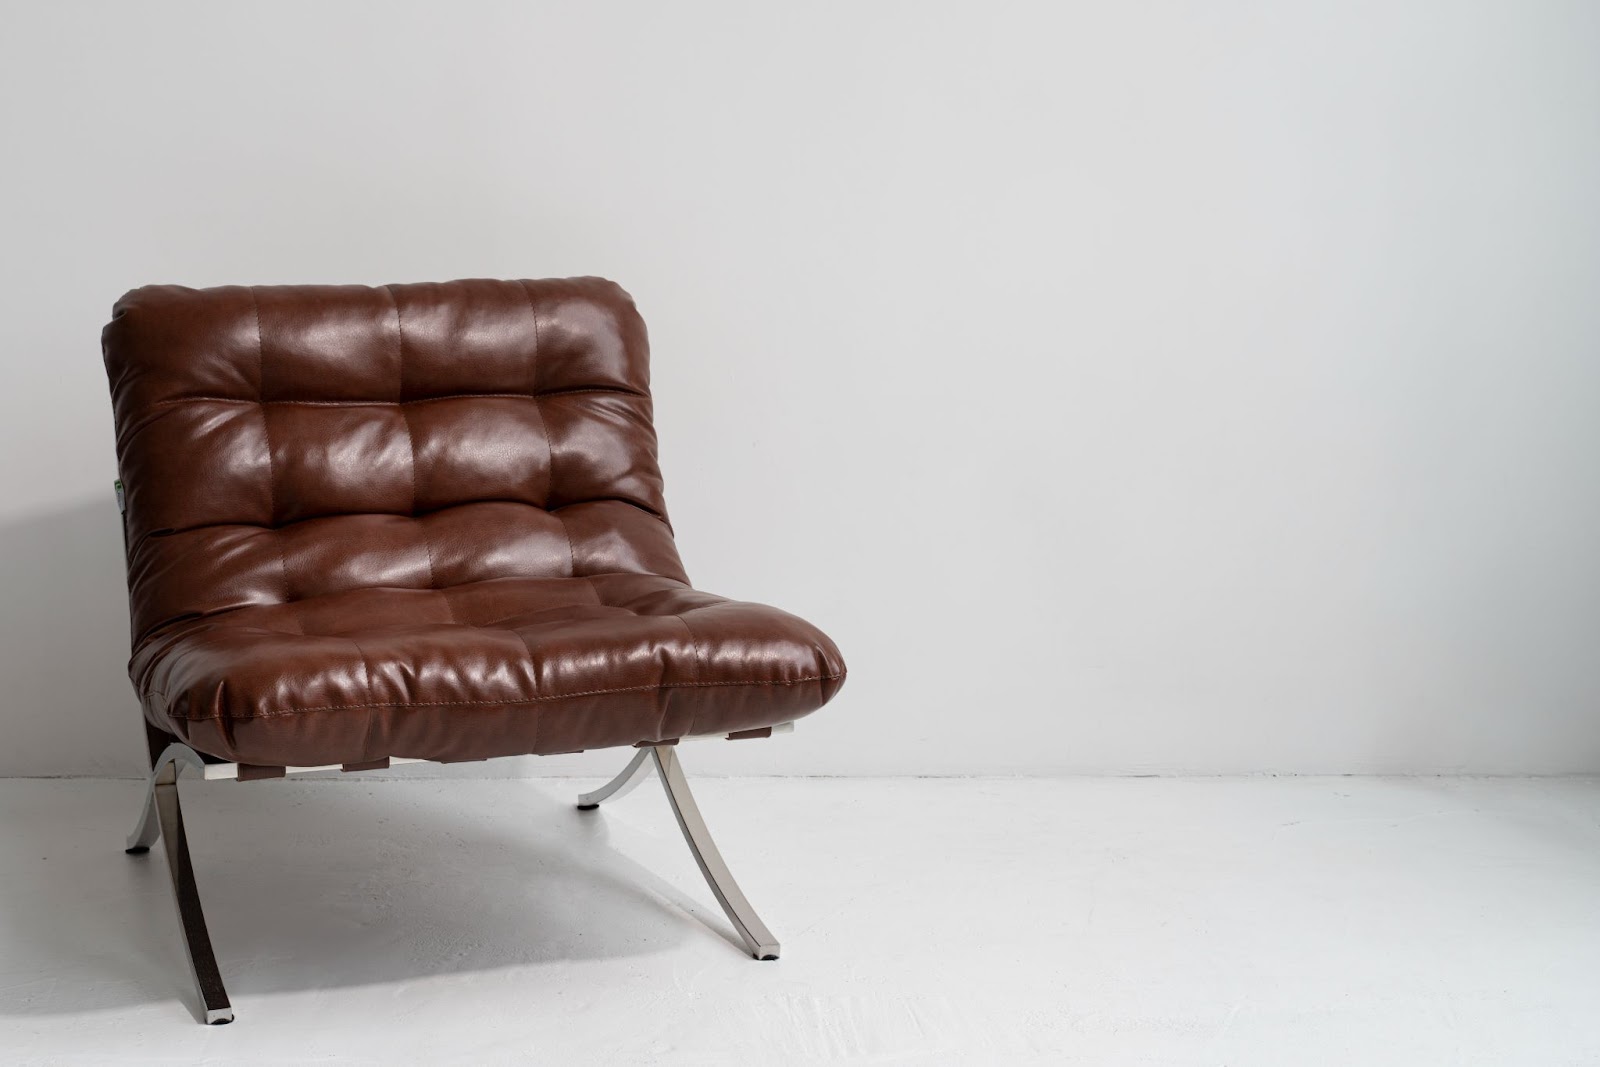
Tip 2: Choosing the Right Lighting Techniques for Leather Photography
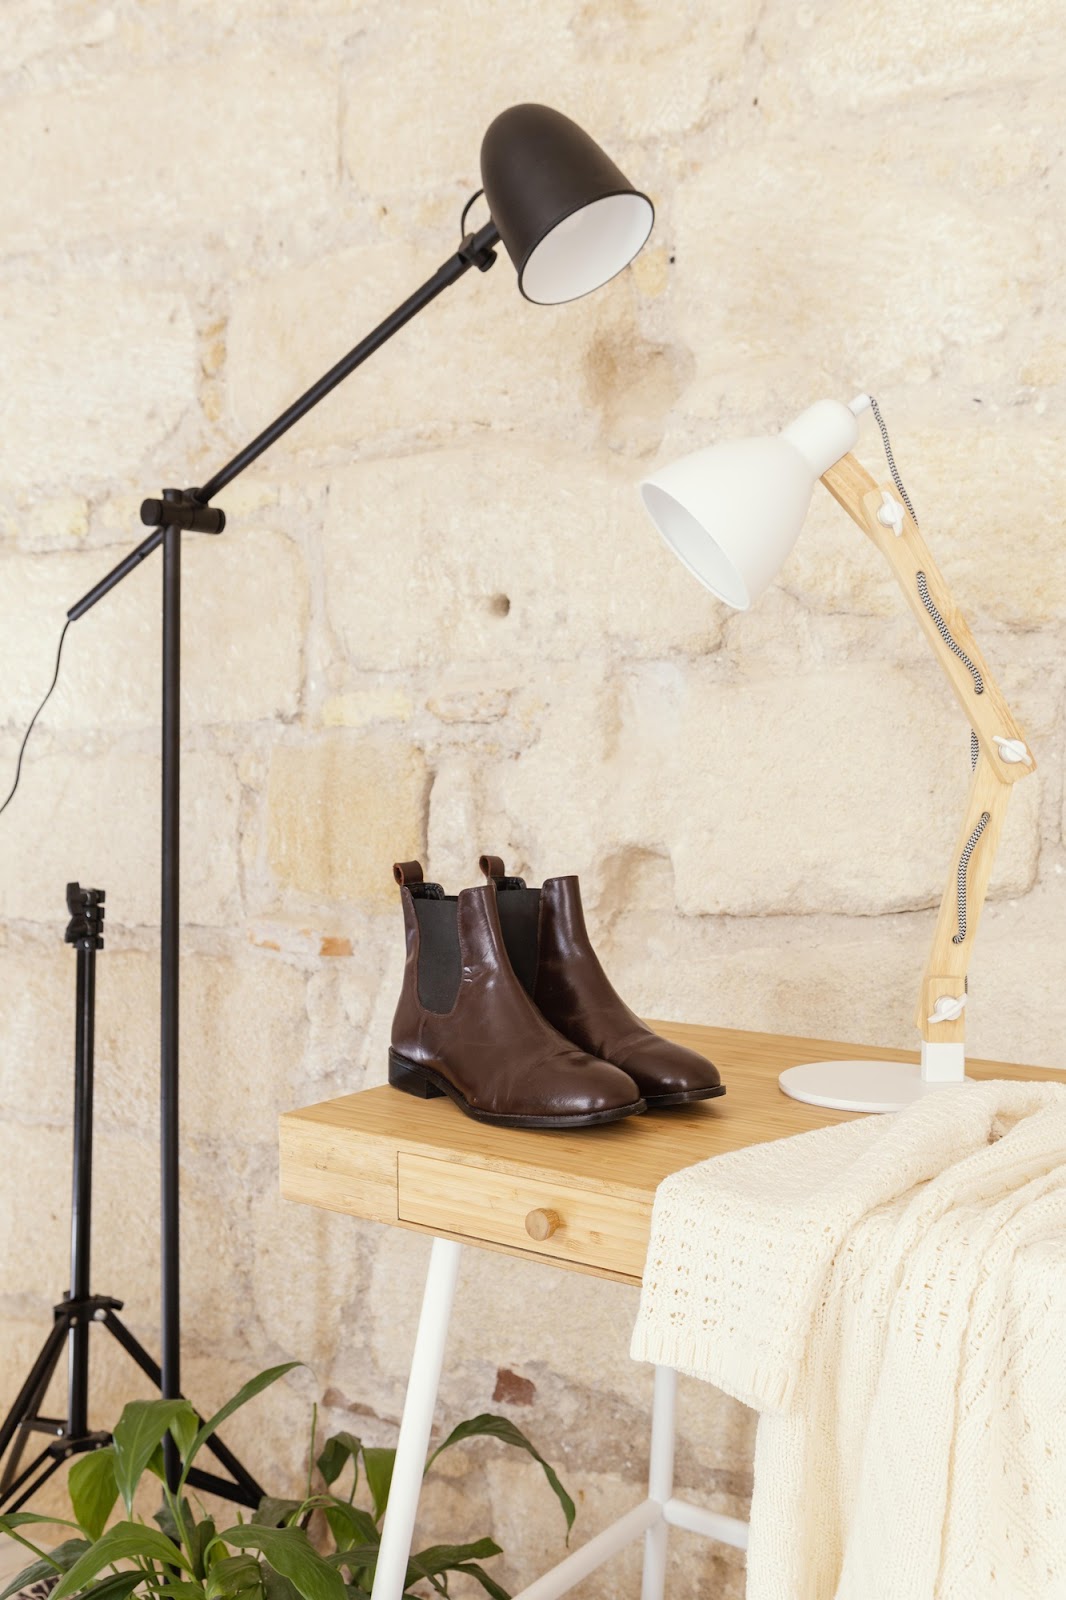
Lighting plays a crucial role in accentuating the allure of a leather product. The right kind of lighting can emphasize the texture, uniqueness, and color of the leather products. There are different lighting techniques you can utilize, such as soft light, hard light, and diffused light. Each of these techniques has different effects on the product and can contribute vastly to the overall aesthetics of the photography.
Soft Light
Soft light creates smooth transitions between light and shadows, minimizing harsh edges and enhancing tonal gradations. Here’s how to achieve it effectively:
- Use large light sources or move the source closer for soft, evenly distributed lighting.
- Reflective umbrella modifiers and softboxes provide directional yet diffused light.
- Position multiple lights at various angles to reduce shadows and create soft reflections, highlighting the leather’s contours and texture.
- Gradual transitions between lit and shaded areas showcase rugged leather characteristics while adding depth and visual appeal.
Hard Light
Contrary to soft light, hard light produces dense, defined shadows with sharp transitions, which is ideal for accentuating structure and adding striking dimension to photos. Here’s how to leverage it:
- Use small light sources or position larger ones at a distance for dramatic contrasts.
- Apply studio modifiers like reflectors, snoots, barn doors, or beauty dishes with grids to focus hard light.
- Highlight the tactile aspects of leather, emphasizing its structural integrity and texture.
- Hard light creates bold contrasts, perfect for showcasing statement pieces with dramatic, impactful visuals.
Diffused Light
Diffused light mimics sunlight through clouds, softening shadows and enhancing colors without harsh glare. It’s ideal for leather product photography. Here’s how to use it:
- Place products in front of a large window with white translucent curtains for natural diffused light.
- Use a translucent “shoot-through” umbrella modifier to achieve evenly dispersed lighting.
- This lighting minimizes shadows and strong reflections, highlighting the product’s colors and details.
- Diffused light wraps around the product, ensuring its beauty and craftsmanship stand out without distractions.
Also read our blog on Hidden Gems: 10 Fashion Photography Tips You Need to Know
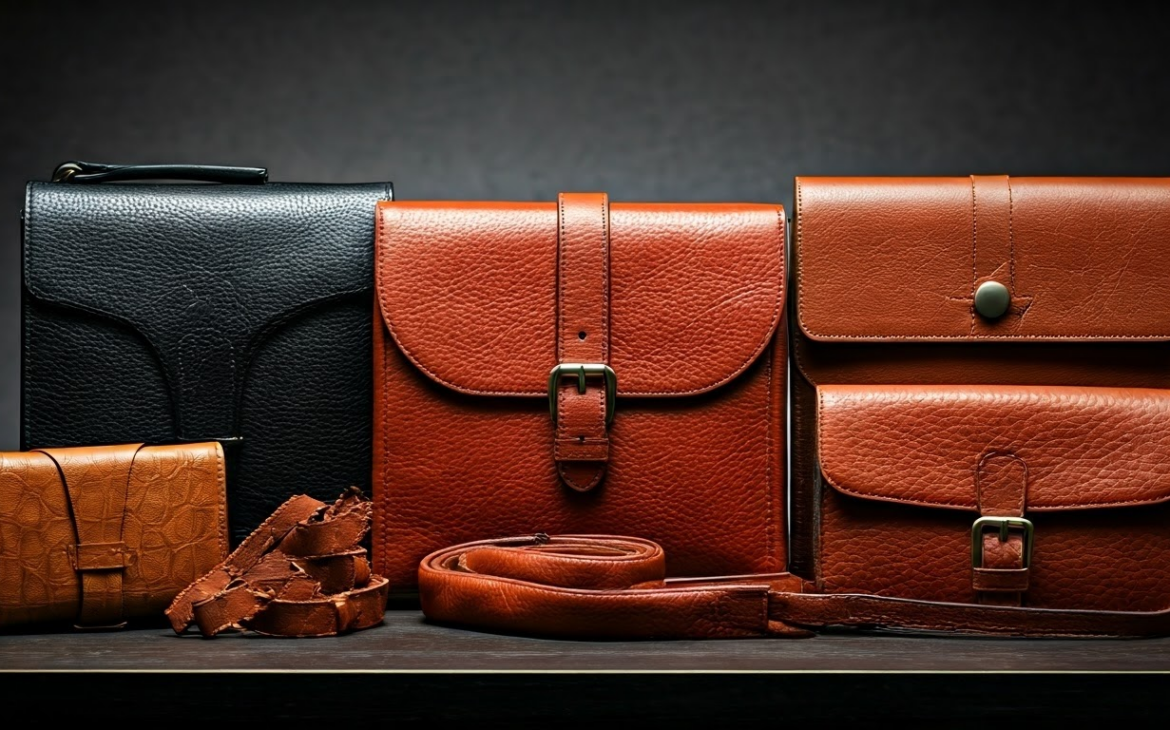
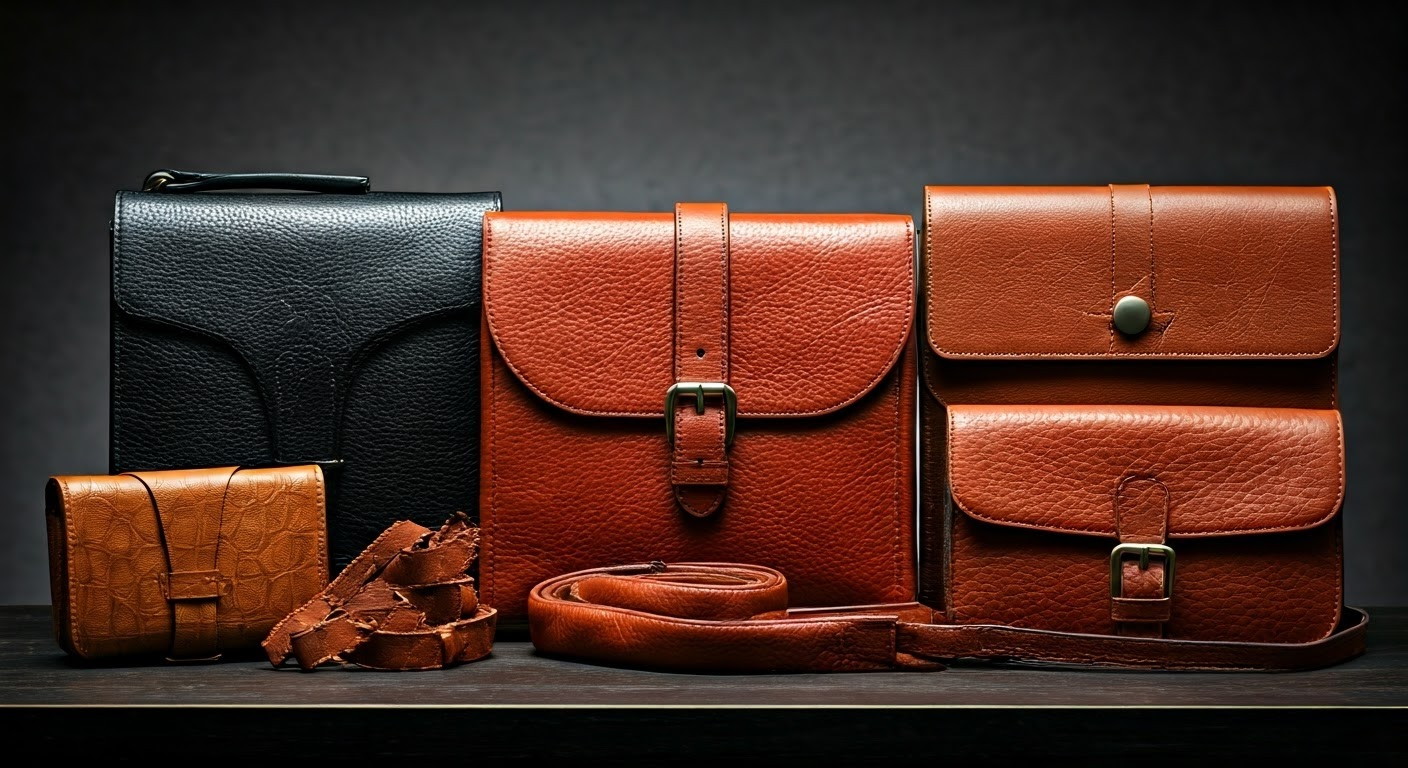
Tip 3: Capturing Various Angles and Textures
Leather products are known for their diverse textures and unique designs. Capturing these features requires a combination of perfect angles, precise lighting, and meticulous attention to detail. Be it a jacket, bag, or pair of boots, each product has its special marking, stitch pattern, or texture. Thus, experimenting with different angles can yield stunning results that emphasize the product’s unique charm. Whether it’s showcasing the front and back views, going for close-ups to depict intricate details, or opting for textured shots for a tactile appeal, every angle has its own story to tell.
Front and Back Views
Front and back views often offer a comprehensive look at the product. This approach is especially popular with clothing items like jackets or pants. Presenting the product on a light or white background offers a clear view of its design, shape, and features.
The idea is to capture the product in focus, maintaining the simplicity and clarity that can engage viewers. From a customer’s perspective, these shots offer a real life view of what the product might look like when worn or used.
Close-ups
Close-ups have a significant role in leather photography as they portray the distinctive essence, intricate details, and unique texture of the product. Such close angle shots can be used extensively to highlight certain aspects like stitches, logos, markings, and material of smaller objects, including shoes, wallets, and belts.
Using appropriate lighting and angle with a macro lens can yield astounding results, emphasizing the product’s texture and details. Close-ups can impart a grand sense of scale and offer a personal touch that can captivate potential customers.
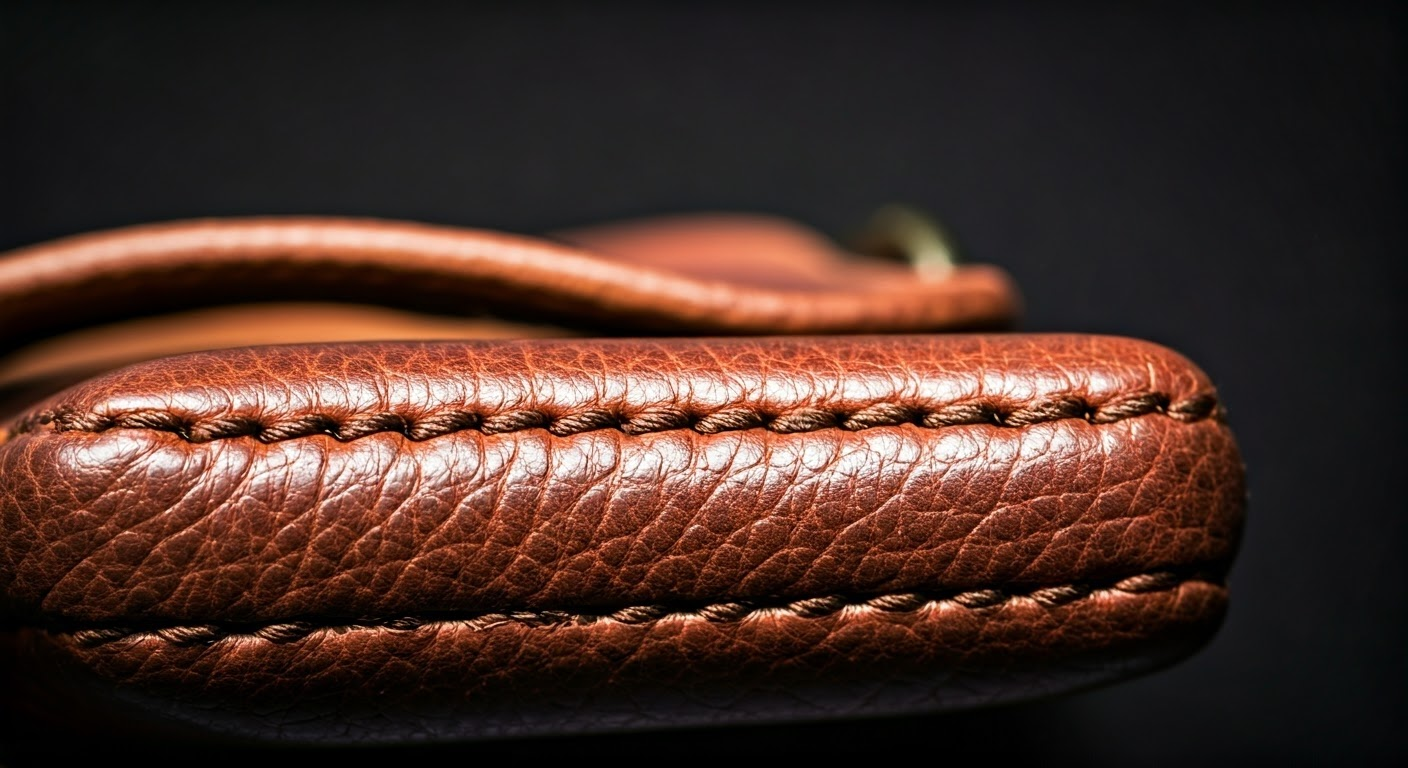
Texture Shots
Texture shots play a crucial role in leather product photography, as leather is valued for its distinct texture. Capturing the unique texture of each product can showcase the diversity and quality of leather items. This approach is particularly successful with smaller items like wallets, belts, or shoes where the texture makes a significant impact.
The right lighting arrangement and angle can enhance the details of the texture, giving the viewer a realistic feel of the product. For instance, a zoomed-in shot can highlight a leather wallet’s grainy texture or a suede handbag’s soft allure.
Interior Shots
Interior shots often spotlight the functional aspect of leather products like bags, purses, or wallets. These shots give potential customers an idea of the item’s practical uses and capacity. They also outline the craftsmanship of a high-quality product where the interior is as well-made as the exterior.
However, these shots can be challenging due to the darker interiors. To overcome this hurdle and achieve the best results, carefully consider the lighting and test various angles and light sources to find the one that illuminates the product effectively without casting deep, obscuring shadows.
Read: Unlocking 9 Latest Fashion Photography Trends in 2024
Tip 4: Enhancing Leather Product Presentation

While capturing great shots is crucial, it’s equally important to present them attractively. Enhancing your product’s appearance involves several elements, like using invisible mannequins, tissue, fishing lines, and pins. Let’s understand these elements in depth.
Invisible Mannequins
One of the challenges facing many ecommerce shooters is presenting products like jackets and bags as they would appear in a natural position without the visual distraction of a model or mannequin. Here’s where the magic of the ‘Invisible Mannequin’ technique steps in.
This method involves photographing the product on a mannequin, followed by a shot capturing the area usually covered by it. The two images are later combined during post-production to give the product a three-dimensional appearance sans the mannequin.
Also read our blog on Jewelry Photography with Model: Expert Tips and Tricks
Tissue
The use of tissue in leather product photography helps to add volume and shape to certain items. For instance, stuffing a handbag, wallet, or jacket sleeve with tissue can create an appealing fullness and roundness that might otherwise be lacking.
Although any present tissue may be visible in your final shot, it can be expertly removed during the post-production process. This simple trick lets your products maintain their shape during the shoot, offering an attractive, realistic depiction.
Fishing Line
Sometimes, a leather product needs to be positioned in a way that gravity doesn’t naturally allow. This is where a fishing line can be helpful. It can artificially hold a product in a seemingly impossible position long enough to capture the perfect shot.
Concepts like making a bag or shoe suspended in midair can create dynamic and engaging images. Although the fishing line might be visible in the final shot, it can be expertly edited out in post-production for a seamless, gravity-defying image.
Pins
Pins are another handy tool in leather product photography. They can aid in holding a product in an otherwise unachievable position or maintaining a certain shape. For example, you can pin a fold into a jacket or secure a bag’s strap in a particular way.
Just like tissue and fishing lines, any visible pins in the final shot can be skillfully removed during post-production editing. Using such props can help capture stunning, unique shots of your leather products.
Also read Pose Like a Pro: 25 Fashion Photography Poses to Try
Tip 5: Post-Production Techniques
Once the shooting is complete, the post-production process takes over to fine-tune your leather product images. Post-production techniques such as brightness & sharpness adjustments, cropping, color swapping, and retouching ensure that your finished images accurately portray the quality and aesthetics of your leather products, giving potential customers a realistic feel of what they should expect. Here’s how:
Brightness & Sharpness Adjustments
Brightness and sharpness adjustments are excellent tools in post-production editing to add more life to your leather product images. Here are some ways they can enhance your images:
- Adjusting the brightness levels can help you highlight or subdue certain aspects of your leather product. For instance, increasing the brightness can make a dark-colored leather bag stand out against a light background.
- Altering the sharpness can bring out the minute details in your products, like stitches, grain texture, or brand logos. This can enhance the overall aesthetic of your image and give it a more professional look.
- Balancing the brightness can help you manage reflections on shiny leather items, ensuring that they look appealing and not overly glossy.
- Sharpness adjustments can add depth to the texture of your leather goods, making them appear more tactile and appealing.
Cropping and Color Swapping
Cropping and color swapping are two more tools at your disposal in the realm of post-production. These strategies allow for the enhancement of your leather product imagery in unique ways:
- Cropping can focus on specific areas of your product — this is particularly useful if you want to highlight certain features. For example, you could use cropping to zoom in on the intricate stitching on a leather wallet.
- Color swapping can change the color of your product or background. This technique can be a lifesaver when displaying a leather item available in several colors without photographing each variant.
- Strategic cropping can also help remove distracting elements from the frame, allowing the viewer to focus solely on the leather product.
- Color swapping can be used to alter the hue of the leather, ensuring the color is accurate and speaks true to the actual product.
Retouching and Background Removal
The quality of a product image significantly influences a customer’s purchasing decision. Therefore, skilled retouching and effective background removal are often needed during post-production to deliver impeccable imagery:
- Retouching can enhance the appearance of your leather product by cleaning up any marks or stains and improving texture and color. However, careful attention is necessary to retain characteristic marks that add to the leather’s charm.
- Background removal enables you to eliminate any distractions from the frame and place your product against a clean, appealing backdrop.
- Retouching can also help adjust the brightness, contrast, and color balance of the image, ensuring that every aspect of the leather product is depicted authentically and attractively.
- Background removal, when done right, can work wonders in enhancing the product’s visual appeal, making it more enigmatic and attractive to potential customers.
File Outputs
In digital photography, editing is only half the battle — managing and handling the file outputs is equally important. When choosing an image editing provider, one must ensure they have a versatile range of supported file formats.
Service providers must accept multiple input formats, such as JPG, TIFF, PNG, and even large PSD files, and return edited images in these formats as per the client’s preference.
They must also offer multiple ways to handle uploads and downloads, including the FTP file transfer protocol, a browser-based UI for smaller studios, or an API for larger studios wanting to integrate their software.
Experience Flawless Visual Storytelling with Flix Studio
With its state-of-the-art tools and skilled professionals, Flix Studio can help capture the essence of your leather products and transform them into high-quality images that speak volumes. Our expertise lies in understanding the peculiar challenges associated with product photography and tackling them head-on. Whether choosing the right lighting, identifying the perfect angles, cleaning the product or enhancing its presentation during post-production, Flix Studio’s substantial experience in handling product photography ensures impeccable results every time.
Flawless visual storytelling can significantly enhance your product’s market appeal, and Flix Studio is committed to delivering just that. Let us weave the narrative of your products through our lens and watch your sales soar!
Conclusion
Leather product photography is a craft where the quintessential nature of these products must come through in every frame. The choice of lighting, angle, and subsequent post-production processes make every leather photograph more than just an image — it becomes a narrative detailing the very soul of the leather product.
With the tips and techniques detailed in this blog, you are well-equipped to embark on your journey of capturing the robust elegance that each leather product embodies. While there might be challenges along the way, you can overcome them and tap into the potential of these beautiful products.
Most importantly, don’t shy away from experimenting and exploring new ways to depict the charm and appeal of your leather goods. Here’s to crafting enchanting narratives through your lens!
Frequently Asked Questions
Is specialized equipment required for leather product photography?
While having advanced equipment can help, one can still capture great shots with a basic DSLR camera, a good lighting setup, a tripod, and the right lens. The key is experimenting with various techniques and understanding what works best for your product.
How should I handle lighting when photographing leather products?
The choice of lighting in leather photography is crucial. Depending on your product, you may choose soft light, diffused light, or hard light to bring out the depth, texture, and true colors of the leather. Each approach results in different effects and moods in the finished picture.
What are the best camera settings for photographing leather products?
Auto-settings might suffice in most cases if you have the lighting and angle mastered. However, depending on the light conditions, you may need to adjust the ISO or aperture. Lower ISO settings coupled with a higher aperture value can contribute to sharper, more vibrant product photos.