Tabletop photography might sound straightforward at first glance—place the object on a table, snap pictures from a horizontal angle, and you’re done, right? Not quite. However, when you dive into the process, you’re met with critical questions: What backdrop best enhances my product’s colors? Which lens should I use to achieve the ideal lighting without resorting to heavy edits?
If you’re eager to scale up your product photography game, you’re not alone. Stunning visuals not only grab attention but also significantly boost customer conversions and hence, highly in demand.
In crux, table photography focuses on capturing detailed, polished images of products. This specialized technique has become indispensable in today’s visual-driven marketplace.
Read on to explore everything you need to know about tabletop product photography in 2025, from choosing the right equipment to knowing all the innovative techniques.
What is Tabletop Product Photography?
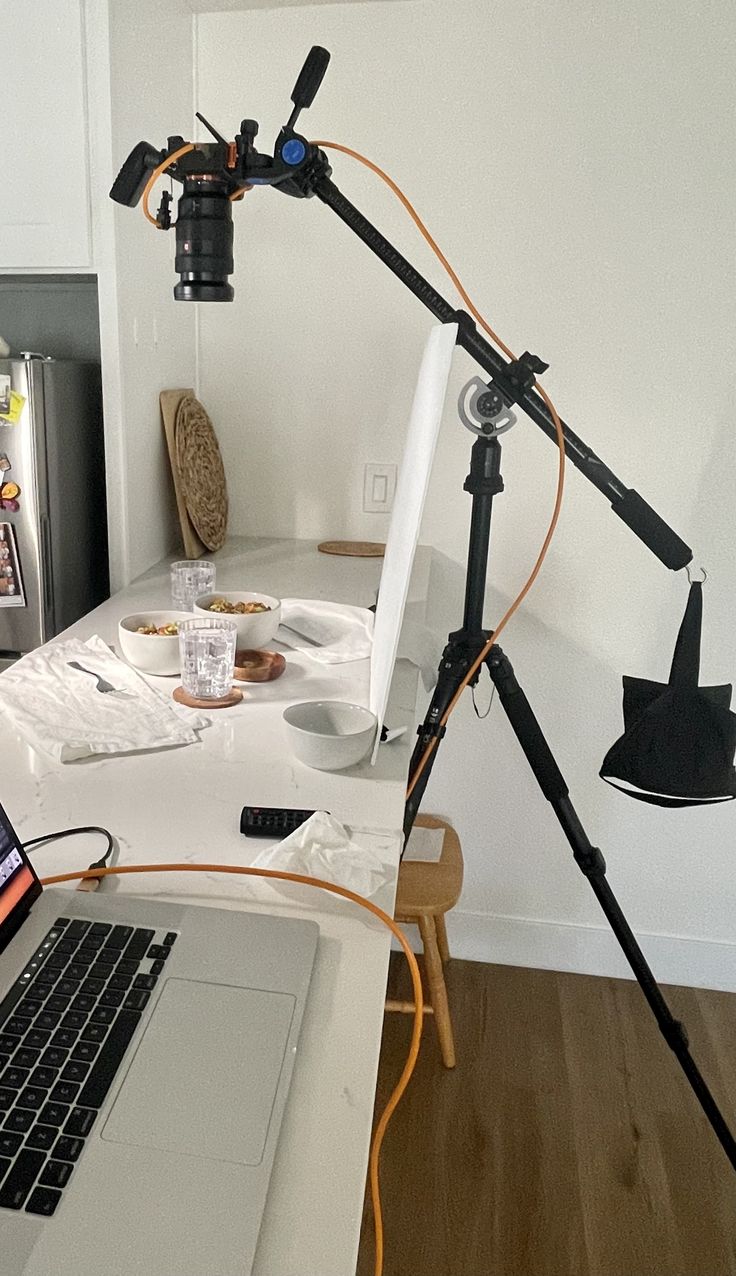
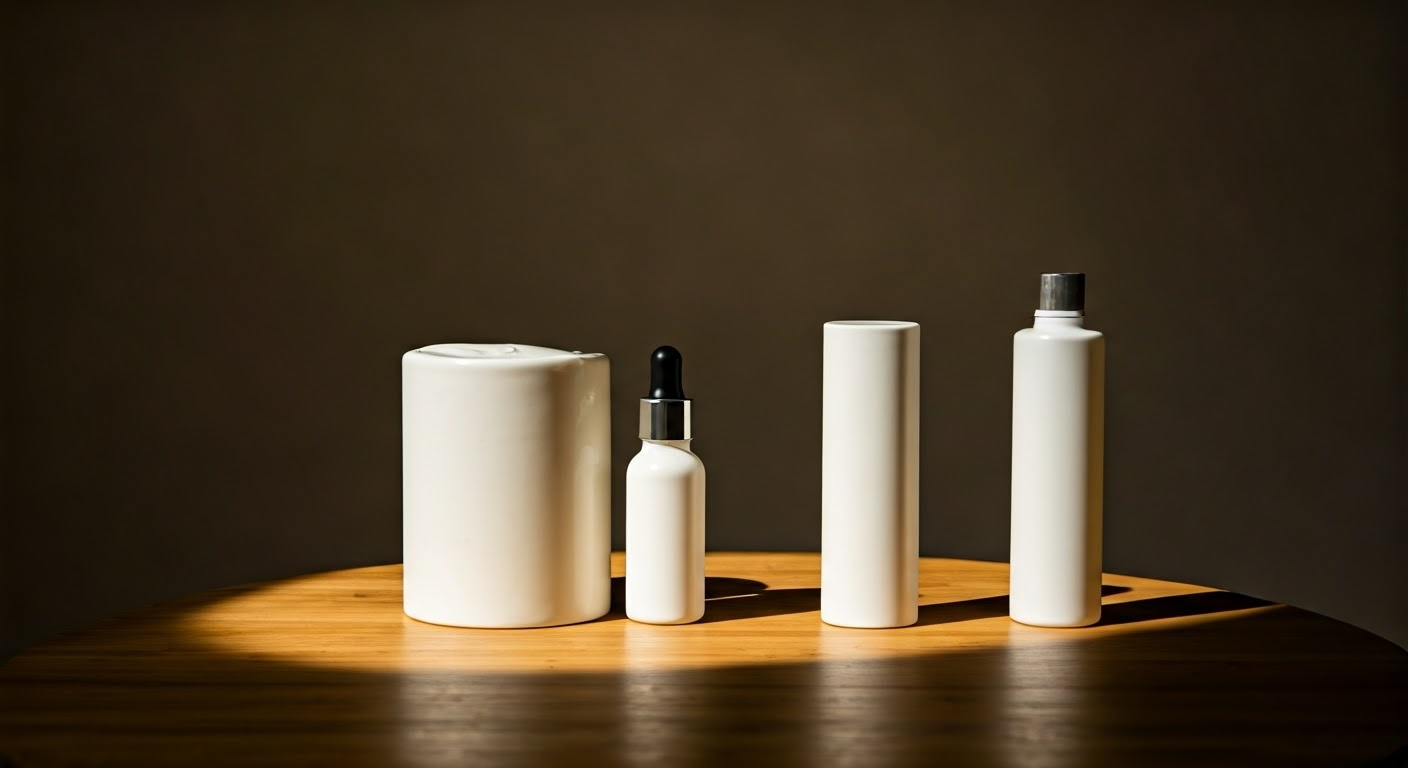
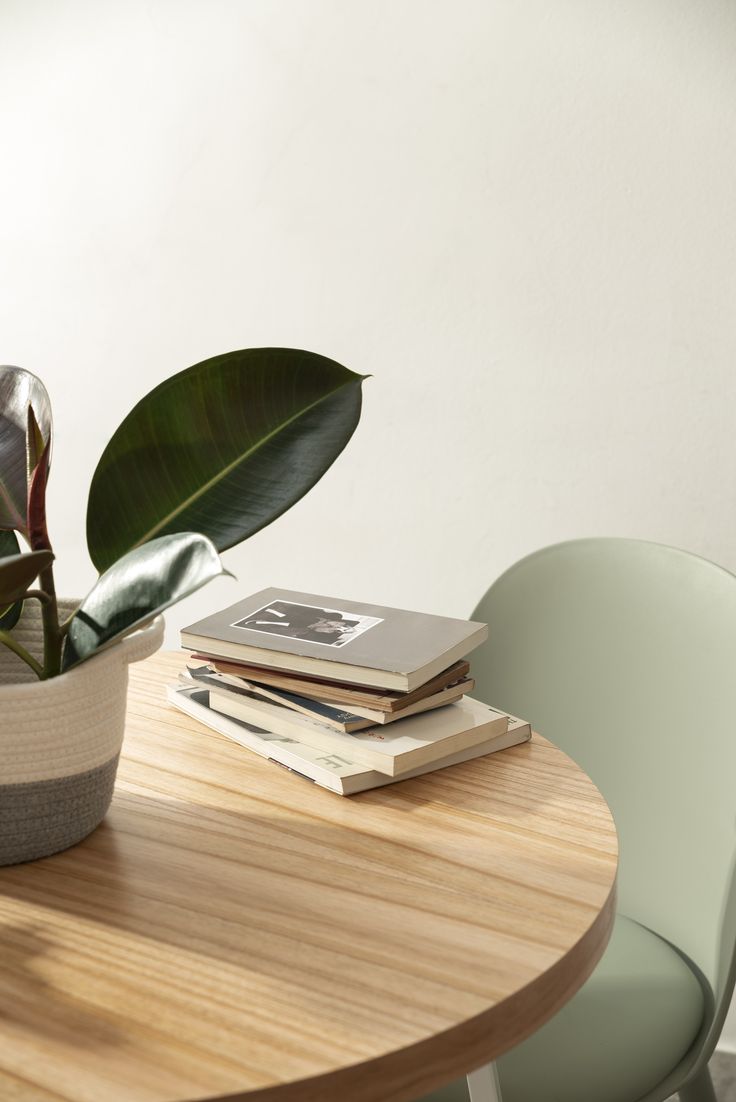
Alt Text- Set Up of a Tabletop product photography
In its simplest form, tabletop product photography involves shooting items placed on a table, either standing or in a lay-flat manner. It’s a popular genre in commercial photography that focuses solely on the product. cutting out unnecessary distractions, ensures the viewer’s attention is drawn directly to the product. The intrinsic design elements, unique features, and vital details of the products are accentuated in this photography type.
Thus, it plays an indispensable part in e-commerce, as clear, attractive pictures directly contribute to product sales.
What are the Popular Types of Tabletop Product Photography?
There are various approaches to tabletop product photography, each catering to different product types and storytelling objectives. Below, we have discussed the popular types so stay tuned!
- White background images: This is Probably the most common and straightforward type. The product occupies about 70% of the image against a crisp white background, highlighting product details effectively.
- Commercially styled images with props: This involves the strategic use of props, and colorful or textured backgrounds to create mood and context around the product, often used for social media or advertising purposes.
- Product Collages: This is Ideal for creating a visually engaging collection of related products.
- Macro Shots: Close-up shots that capture the tiniest details of a product, often using a macro lens.
- Overhead Shots or Flat Lays: Products arranged neatly on a flat surface and photographed from directly above. This type of shot is popular in the world of social media, especially Instagram.
What Equipment Do You Need for Tabletop Product Photography?
Alt text- Lighting techniques for tabletop product photography
The quality of your tabletop product photography largely depends on the tools you use for your photoshoot. Whether you’re going for a DIY setup or investing in professional equipment, some essentials should be part of your gear. This list includes a camera (DSLR, Mirrorless, or a smartphone), a good quality lens, a stable tripod or C-stand, and appropriate lighting equipment.
Professional Equipment
For those serious about pursuing tabletop photography, investing in professional equipment can prove to be beneficial. Although the initial investment might seem substantial, the quality of the images produced makes it a worthy expenditure. Here are some must-have items:
|
Equipment |
Why It’s Important |
|
Camera |
A good quality camera is the cornerstone of successful product photography. While DSLRs and Mirrorless cameras are traditional choices, advanced smartphones also do a commendable job. Note that high image resolution is essential for crisp and clear product shots. |
|
Lens |
A prime lens (50mm or 85mm) often proves effective for product shots. For capturing close-up detail shots, consider purchasing a macro lens. |
|
Tripod or C-stand |
A sturdy tripod or C-stand ensures stability, enabling sharp images by minimizing camera shake. |
|
Lighting Kit |
Proper illumination is crucial to emphasize textures, reveal true product colors, and create depth. Invest in a robust lighting kit with both continuous lighting and flash options. |
DIY Equipment
If you’re just starting out or need to keep costs down, consider creating your own DIY tabletop photo studio. Here are some items you might find useful:
|
Item |
Description |
|
Smartphone |
Many modern smartphones offer advanced cameras and manual control options that rival professional cameras. |
|
DIY Tripod |
Make your own using items like books or bottle stacks to rest your camera. Just ensure it is steady! |
|
Natural Light |
Position your shooting area near a window to make the most out of natural light. |
|
Homemade Reflectors |
Tin foil, white cardboard, or mirrors can help redirect light onto your product. |
|
DIY Diffusor |
Use a white bedsheet or paper to diffuse harsh light and reduce shadows. |
|
Homemade Backdrops |
Use colored cardboard, craft paper, fabrics, or even wooden boards for creating diverse backdrops. |
Light Equipments
Natural light is considered the best kind of light for its softness and natural appeal. Natural light is abundant and free and can create beautiful, soft-lit scenes in your photographs. For natural light, position your shooting area near a window.
The time of day, weather, and window direction play key roles; morning light tends to be softer, while afternoon light has a warm tone. Bright, overcast days can provide naturally diffused light, reducing harsh shadows. So, experiment with different times of the day and see what works best for your products.
But how do you go on about if there is not enough natural lighting available?
When natural light isn’t accessible or enough, artificial lights come into play. Artificial lights allow you to control the intensity, direction, color temperature, and more. Here are some common light sources:
- Continuous Lights: These lights stay on constantly, allowing you to see in real time how the light affects your scene. Examples include LED panels or ring lights.
- Flash/Strobe Light: This type of light provides an intense burst of light when the camera takes a photo. It’s powerful and allows freezing motion in the scene.
- Light Box: A light box, or tent, works best for small to medium-sized products. The enclosed space with reflective interiors provides a controlled lighting environment.
To soften artificial light, use modifiers like diffusers or softboxes. Remember, your goal is to make the light look as natural as possible.
Tabletop Photography Ideas and Inspiration
The beauty of tabletop product photography lies in the endless creativity it offers. The setting, prop selection, lighting, and composition all can be tweaked according to the story you want to tell about your product.
Here are some ideas that you can start with right away!
1. Textured and Colorful Backgrounds
Alt text- Textured background for tabletop photography
Incorporate backgrounds with distinct textures and vibrant colors to set the desired mood for your product. For example:
- Bright Orange Backdrop: Introduce warmth and energy into your shot by using a bright orange background.
- Silk Fabric: Drape silk to provide a premium and elegant look for accessories.
- Confetti: Scatter confetti to infuse a festive or celebratory atmosphere.
Also Read our blog on ways to ace a product shoot without the need for models!
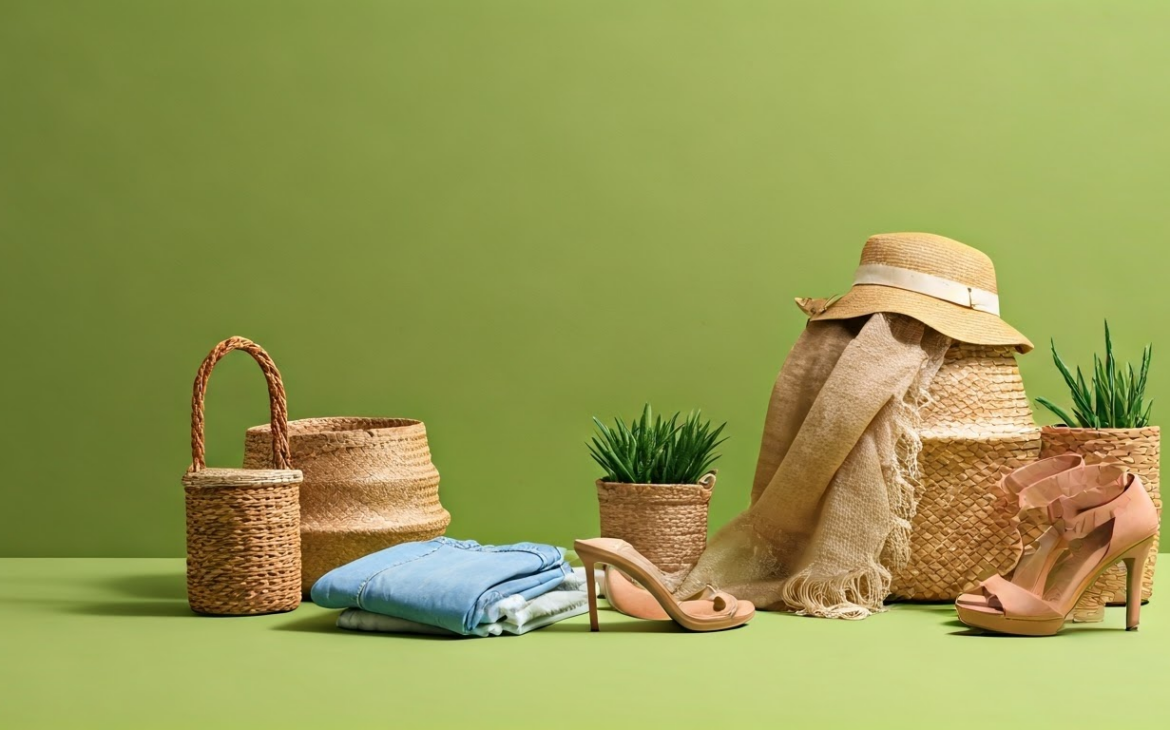
2. Incorporate Relevant Props
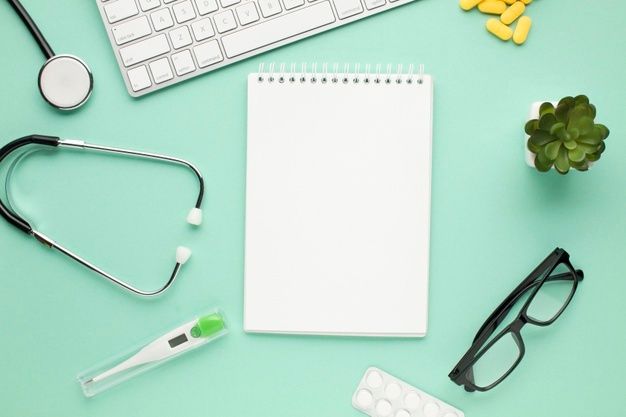
Alt Text- Relevant props for tabletop product photography
Enhance your product’s narrative by including associated items in the composition. For instance:
- Cosmetics: Arrange other cosmetic products alongside the main item to suggest a complete beauty routine.
- Medicines: Place herbal ingredients next to a box of pills to emphasize natural components.
- Jewelry: Include jeweler’s tools as props to highlight craftsmanship.
3. Natural Light with Minimal Equipment
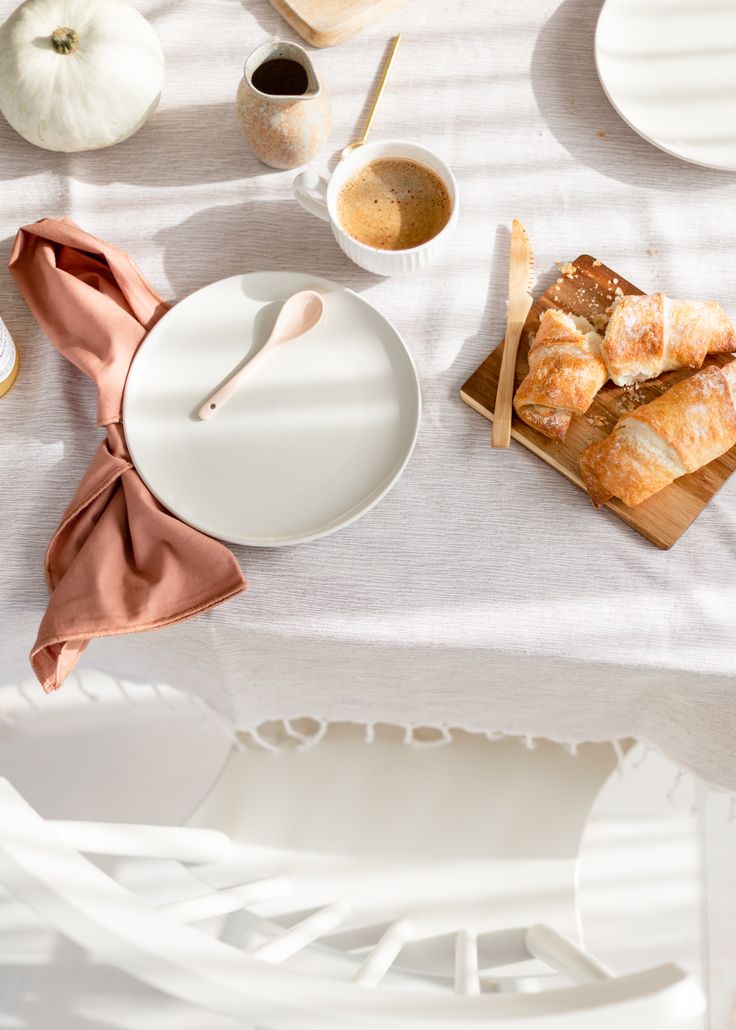
Alt text- Natural lighting in tabletop product photography
Achieve professional-looking shots by utilizing natural light and basic equipment:
- Smartphone Photography: Modern smartphones can capture high-quality images when used effectively.
- Natural Light: Set up near a window during daylight hours to take advantage of soft, diffused light.
This method is cost-effective and accessible, especially for beginners.
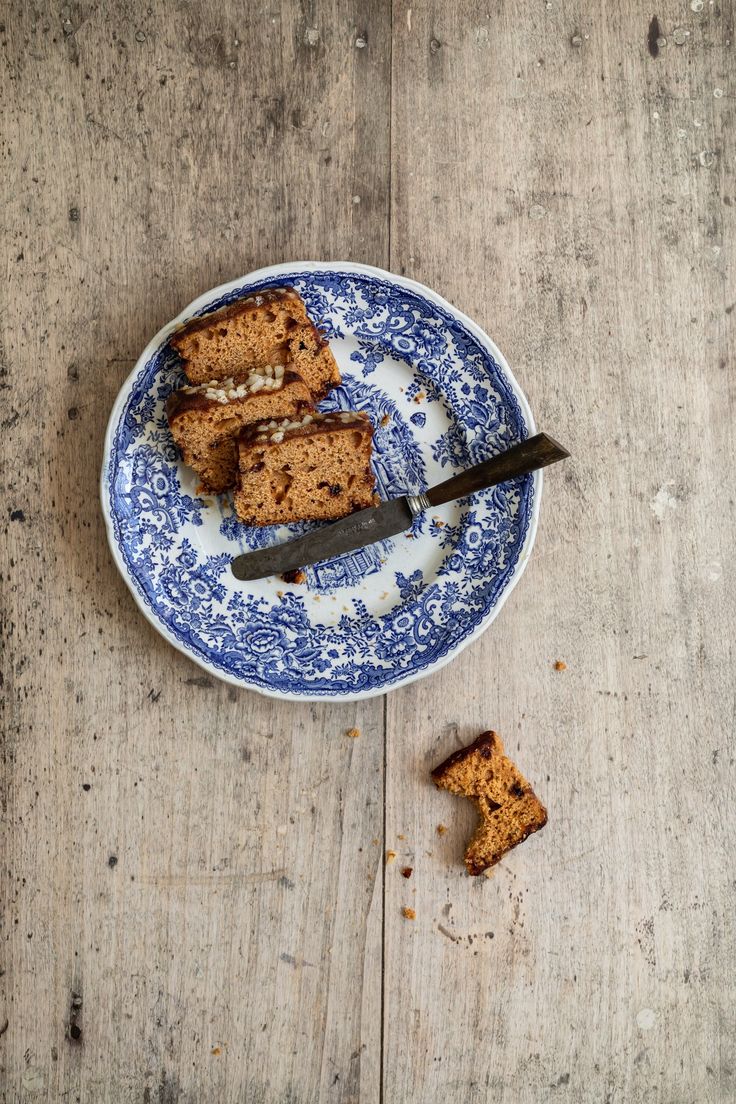
4. Experiment with Angles and Perspectives
Alt text- Experimenting with angles for tabletop product photography
Varying your shooting angles can provide a fresh perspective on your products:
- Overhead Shots: Capture flat lays to showcase items from above, ideal for arrangements like a cup of coffee with a book and a plant.
- Side Angles: Highlight the depth and dimensions of products by shooting from the side.
Composition and Styling Tips That Makes All The Difference
In product photography, how you arrange the product and props, aka your composition, can make a huge difference. It adds depth and perspective to your image, leads viewers’ eyes toward crucial details, and can immensely boost visual appeal.
The Rule of Thirds and Framing
The rule of thirds is a classic photography principle that suggests dividing your image into nine equal squares using two equidistant vertical and horizontal lines. Placing your main subject at one or more of the grid’s intersecting points can result in a balanced and visually engaging image. Also, consider using frames within your images.
Frames can be anything in your scene that encloses your main subject(s) – be it a pair of hands holding a product, an archway, or even shadows around the product. They can help direct viewers’ attention to the subject and give depth to your shot.
Choosing Props and Backdrop
Props and backgrounds in tabletop photography contribute significantly to the overall aesthetic and mood of the shot. Here are some tips to consider:
- Props should complement the product: Avoid using props that might distract from the main subject.
- Maintain consistent color palette: The colors of your props and backgrounds should gel well with your product.
- Use backgrounds that pop: Choose backgrounds that make your product stand out, such as contrasting colors or textures.
- Contextual props: Use props that support your product’s story or usage.
- Keep it simple: Overcrowding your frame with too many props could take away focus from the product.
Unique Product Photography Hacks
Tabletop product photography offers near-endless space for innovation. Here are a few hacks to elevate your shoots:
- Use white paper rolls for seamless backgrounds: White rolls of paper create a smooth, seamless backdrop that puts all focus on the product.
- Utilize prisms for creative effects: A small glass prism can bend light to create unique lighting effects and interesting distortions.
- Making use of mirrors: Mirrors can reflect light, add depth, and introduce fascinating symmetry to your images.
- Mister spray for added texture: A quick spritz of water on certain products, like beverages or fresh produce, can create an attractive “fresh” look.
- DIY Softbox: All you need is a translucent plastic container and a source of light for a quick DIY softbox.
Post-Processing for Tabletop Product Photoshoot
After capturing your tabletop product photos, post-processing comes into play to enhance and refine the images. From color correction and retouching to cropping and resizing, photo editing tools offer diverse ways to turn your good photos into extraordinary ones.
Photo Editing Tools
There are numerous photo editing tools available today, each offering a range of features for beginners to professionals. Here are some popular ones:
|
Adobe Photoshop |
Widely used professional software with powerful editing features. Ideal for detailed retouching and manipulations. |
|
Adobe Lightroom |
Designed predominantly for color grading and batch processing of photos. |
|
Snapseed |
Free mobile application by Google, offering sufficient capabilities for beginner to intermediate editing. |
|
VSCO |
Combines a camera, editing tools, and an online community. Particularly popular for its wide range of aesthetic filters. |
Enhancing Your Photos
Even if your initial shot is near perfect, there’s always room for improvement through editing.
- Adjusting brightness, contrast, and saturation can bring out the product’s true colors.
- Retouching can eliminate any distractions like blemishes or dust particles on the product.
- Cropping and straightening help frame your product better, while filters and presets can provide a consistent style or mood across all product photos.
However, avoid excessive manipulations that might misrepresent the product’s actual look and features.
How To Get An All In One Solution For Professional Brand Photography?
If this all sounds like a lot, you could also outsource and partner with a more expert solution like FlixStudio.
Our platform makes life easier by combining tech like generative AI and 3D modeling with expert photography to create stunning product images that do all the talking for your brand.
Forget the endless tweaks or stressing over getting every detail right. With FlixStudio, you can customize props, backgrounds, and even on-model shots to match your brand’s vibe. We take care of the basics, from shooting to editing, and ensure every image meets high-quality standards. Whether it’s for a product catalog, social campaign, or promo materials, we have got you covered.
If these all sound like the solutions to the problems your brand is facing in storytelling, get in touch with an expert from our team today and we could discuss more on customized solutions for your business.
Conclusion
Tabletop product photography might seem challenging at first glance. However, with a grounded understanding of its principles, along with adequate practice and experimentation, one can surely master this art form.
Be it the application of natural or artificial lighting, selection of essential equipment, or the incorporation of styling and composition strategies, every aspect contributes towards creating a captivating product image.
Whether you aim to promote your products on an e-commerce platform or carve a niche for yourself in the field of product photography, mastering the art of tabletop photography and utilizing platforms like Pinterest can go a long way.
Here’s hoping that this comprehensive guide sparks your curiosity and fuels your passion for product photography!
Frequently Asked Questions
What are the best cameras for tabletop product photography?
Professional DSLRs or mirrorless cameras with prime lenses often prove effective for tabletop product photography. However, the camera quality of modern smartphones has also become competitive, making them a good entry point for beginners.
How much should I charge for product photography as a beginner?
The pricing for tabletop product photography can vary widely based on product complexity, usage rights, and the photographer’s expertise. As a beginner, it’s reasonable to start charging hourly rates, gradually moving towards per-image pricing as you gain experience and reputation.
How do you shoot a tabletop photo?
Tabletop photography involves setting up your product on a tabletop, arranging suitable lighting, and framing the product considering composition rules in a tabletop studio. Try different angles and settings, experiment with props and backgrounds, and make sure the product details are well illuminated and clearly visible.
What are the key elements to consider when setting up tabletop product photography?
Key elements would include a well-lit space, a flat surface (tabletop), your product, background and props, camera (a smartphone will work too), tripod or C-stand (for stability), and appropriate lighting sources (natural or artificial).
What kind of objects are in tabletop photography?
Tabletop photography can feature a variety of objects, from everyday items like cosmetics, food, jewelry, clothing, and appliances to unique artifacts. The object size should be manageable on a table set up, allowing ease in detailed capture.