
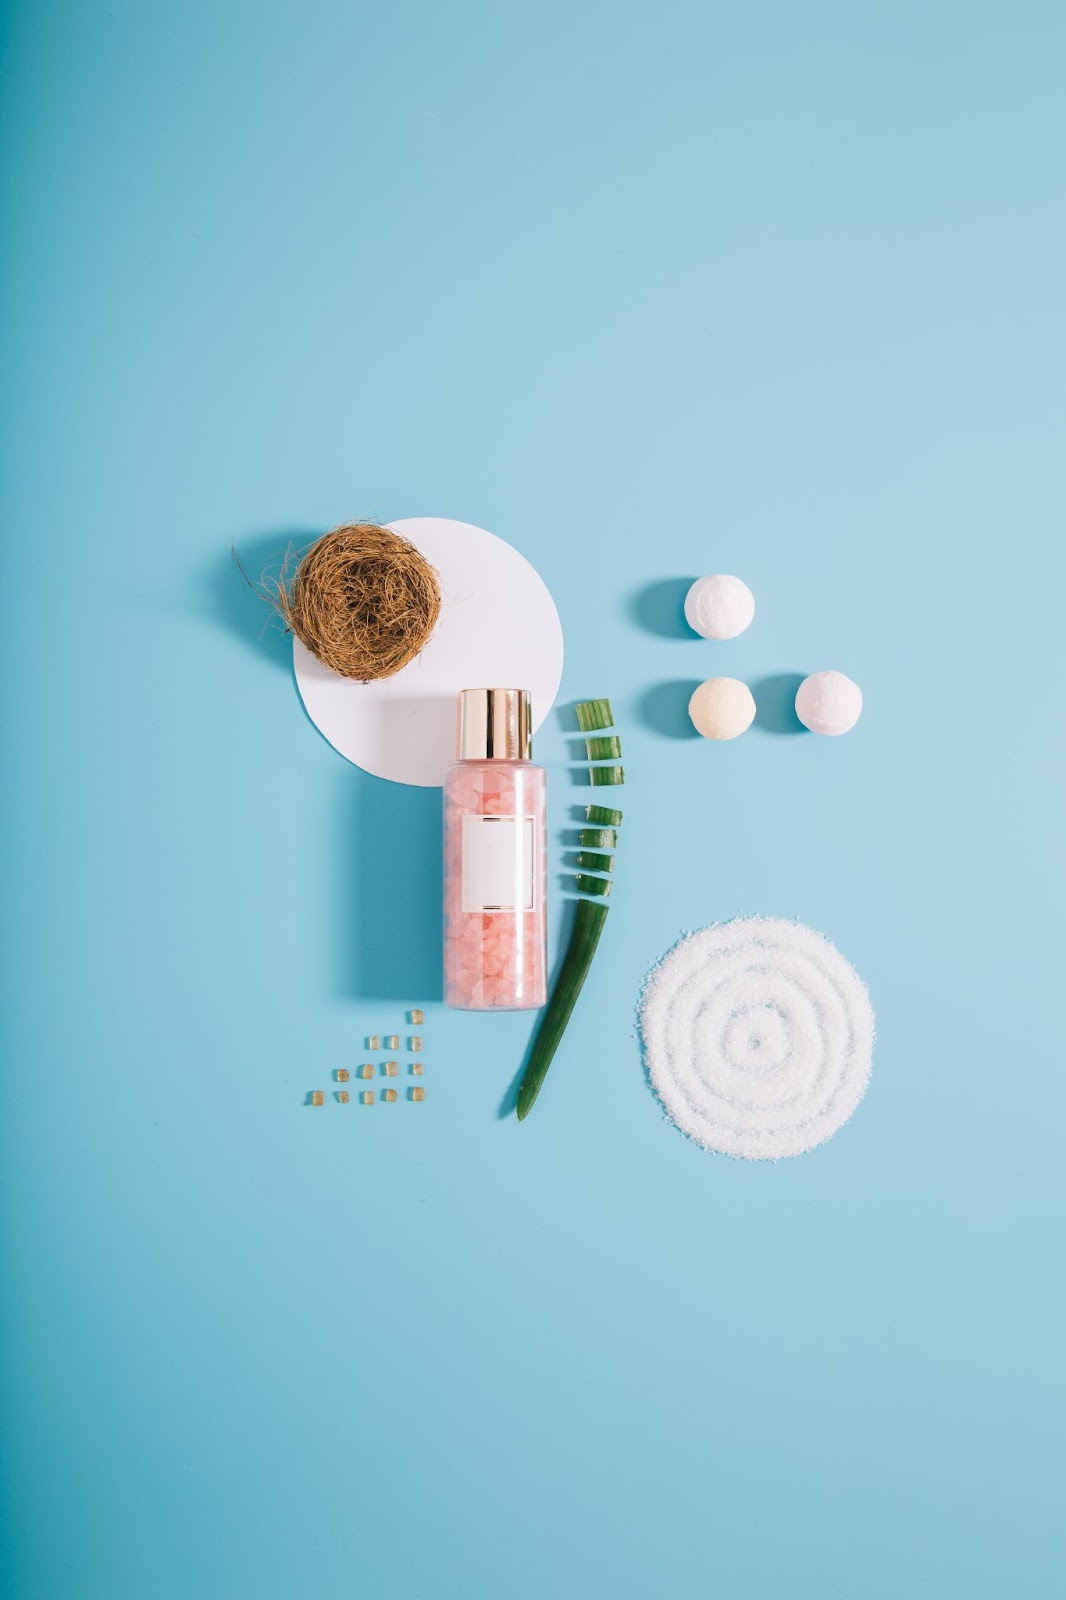
Whether you’re a small business owner, a social media creator, or someone trying to enhance their online presence, capturing attention with visually compelling content can feel like an uphill battle. Poorly styled or uninspired photos often fail to showcase your product’s true value, leaving potential customers scrolling past. This is where flat lay product photography comes in.
Creatively arranging items on a plain white background and photographing them from a bird’s eye view, elevates the visual interest of any product, making it more appealing to consumers.
In this guide, we discuss everything from the basics of flat lay photography to the intricacies involved. We’ll explore how to plan and organize your photoshoot, the necessary equipment, best practices to follow, and even how to edit your photos for that perfect finish. So, without further ado, let’s dive into the world of flat lay photography!
What is Flat Lay Product Photography?
Flat lay product photography is a popular technique used in various industries – predominantly in the social media realm – to showcase products aesthetically. It involves placing products or props on a flat surface, ensuring every item is in focus, and capturing the arrangement from a high angle, usually 90 degrees.
This technique lends itself elegantly to creating minimalist yet effective images that are clean, well-coordinated, and pleasing to the eye.
Why is Flat Lay Product Photography Important for Businesses and Social Media?
In today’s digital age, where visual content dominates, integrating flat lay product photography into your business strategy can provide significant advantages. Here are a few key reasons why flat lay photography is essential for your brand:
- Enhances Brand Image: Flat lays are widely used on platforms like Instagram and Amazon, helping brands present their products in a polished, professional way.
- Showcases Product Details: By allowing customers to see fine details up close, flat lay photos create a near-tangible experience without requiring a physical presence.
- Tells a Story: Strategically arranged flat lays evoke emotions and relay stories or moods that resonate with audiences, encouraging engagement and sharing.
- Increases Exposure and Interest: Visually appealing flat lay content captures attention, triggers social sharing, and draws more consumers to your brand.
- Focuses on Key Features: The arrangement of objects guides the viewer’s eye to specific product features, highlighting what matters most and driving sales.
- Boosts Brand Recall: Consistently styled flat lays reinforce your brand identity, making it more recognizable and memorable to your audience.
Also, read our blog on Different Types of Fashion Photography
How to Plan and Execute a Flat Lay Product Photoshoot?

Planning and executing a perfect flat lay photoshoot necessitates a meticulous method involving various stages. Every aspect plays a significant role in choosing a compelling theme and deciding on a color palette to positioning your camera and lighting correctly. Let’s delve into each of these steps, covering everything from selecting the product and its preparation to experimenting with different angles and finally capturing the image.
Step 1: Choose a Theme or Story
Before plunging into your flat lay photoshoot, you must determine a strong theme or story. This gives you a direction and maintains consistency in your images. Here are some tips on how to approach this:
- Identify your Target Audience: Understanding who you are creating the content for can give you insights into what will appeal to them most.
- Consider Product Features: Highlight the unique features of your product. If it’s sunglasses, you should focus on their color, design, or unique attributes.
- Align with Brand Aesthetic: Your story or theme should align with your overall brand aesthetic and message.
- Season or Occasion: If your flat lay is for a particular season or occasion, this inherently contributes to determining the theme.
Step 2: Select a Color Palette
Choosing the right color palette is an essential part of the planning process. Colors can evoke emotions, create harmony, and add depth to your photo. Stick to a cohesive color scheme that complements your product.
Opt for vibrant, warm shades if you’re promoting a summer collection. For a minimalist look, choose a monochromatic theme. On the other hand, using contrasting colors can make your product pop against the background.
Take advantage of color theory to achieve balance and harmony in your images. Don’t forget to consider the colors that define your brand identity.
Step 3: Choose Your Background
The importance of selecting an appropriate background for flat lay photos can’t be stressed enough. It’s the foundation of your image and should seamlessly complement the product without overpowering it. A plain white background is a popular choice since it offers a clean, neutral base; don’t hesitate to get creative.
Consider the context and what best enhances your products. You can use textured backgrounds like wooden surfaces, marble, or fabrics to add interest. However, ensure that the texture doesn’t distract attention from the product.
Step 4: Plan the Lighting
One of the essential aspects of any photoshoot is the lighting. It helps maintain the focus on the object, limiting inevitable imperfections and unnecessary shadows. An overcast day can provide good natural light for this occasion.
However, if relying on natural daylight is not an option, artificial lights can be a great alternative, too. Here’s a quick comparison to assist your planning:
|
Type of Light |
Effects |
|
Natural Light |
Soft, diffused light; can change depending upon weather conditions |
|
Artificial Light |
Consistent and controllable; may require additional diffuser or reflector to soften |
Step 5: Select and Prepare the Product
After setting up the theme, palette, background, and lighting, it’s time to select and prepare your product. Ensure your product is in perfect condition: pieces of clothing should be ironed and crease-free; accessories, watches, or jewelry should be spotless and shiny; beauty products must be unused and pristine.
Consider what product features you want to highlight, and remember to focus on the main product, carefully picking auxiliary props if needed.
Step 6: Position the Camera and other Essential Equipment
For flat lays, the camera should be placed directly above the setup. Using a tripod with a horizontal arm extension is crucial as it provides stability, keeps the camera level, and ensures all objects remain focused. Besides, using a tripod lets you experiment with shutter speed without worrying about motion blur.
As for the camera lens, a standard 50mm lens or a wide-angle lens can work wonders for lay flat product photography. However, wide-angle lenses might distort the edges, so adjust accordingly. A longer focal length, though requiring a higher vantage point, can help avoid distortion and offer a more accurate perspective.
Step 7: Arrange Product, Props, and Supporting Elements
In flat lay photography, the arrangement of your product and props is crucial as it guides the viewer’s eye movement across the image. Here is how you can go about it:
- Focus on the Main object: Your product should be the star of the show. Place it first and arrange other elements around it.
- Use Props Sparingly: Props can enhance your image, but they shouldn’t steal the spotlight. Opt for items that complement the product and add to the story.
- Try Different Layouts: From diagonals and grid patterns to the classic rule of thirds, experiment with different layout patterns that enhance your product.
- Leave Negative Space: Don’t overload your image. Leaving some empty spaces makes your picture look balanced and allows the viewer’s eye to rest.
Step 8: Experiment with Angles
Even though flat lays are traditionally shot from directly above the setup, don’t hesitate to experiment with angles. A slightly tilted angle can add depth to your photo.
However, bear in mind to avoid heavy distortion and keep the focus on the product. Whichever angle you opt for, ensure it enhances the aesthetics of your product and aligns with your overall vision.
Step 9: Tweak and Refine the Layout
Once you’ve arranged everything, take a moment to review the setup. Analyze if the layout is balanced, whether the colors complement each other, or if the props align with the theme.
Don’t shy away from making necessary tweaks to obtain the best possible shot. Even slight changes in the arrangement or repositioning of an element can make a massive difference to the overall composition.
Step 10: Capture and Review
Now comes the exciting part – capturing your meticulously planned layout. Set your camera settings, check your lighting one last time, and take your shot. Make sure to shoot in high resolution to capture as much detail as possible.
After capturing, thoroughly review the images – ensure they are sharp, well-lit, and reflect the product’s true colors. Remember, a well-captured photo significantly reduces the time you spend editing post-shoot.
What are the Essential Equipment for Flat Product Photography?
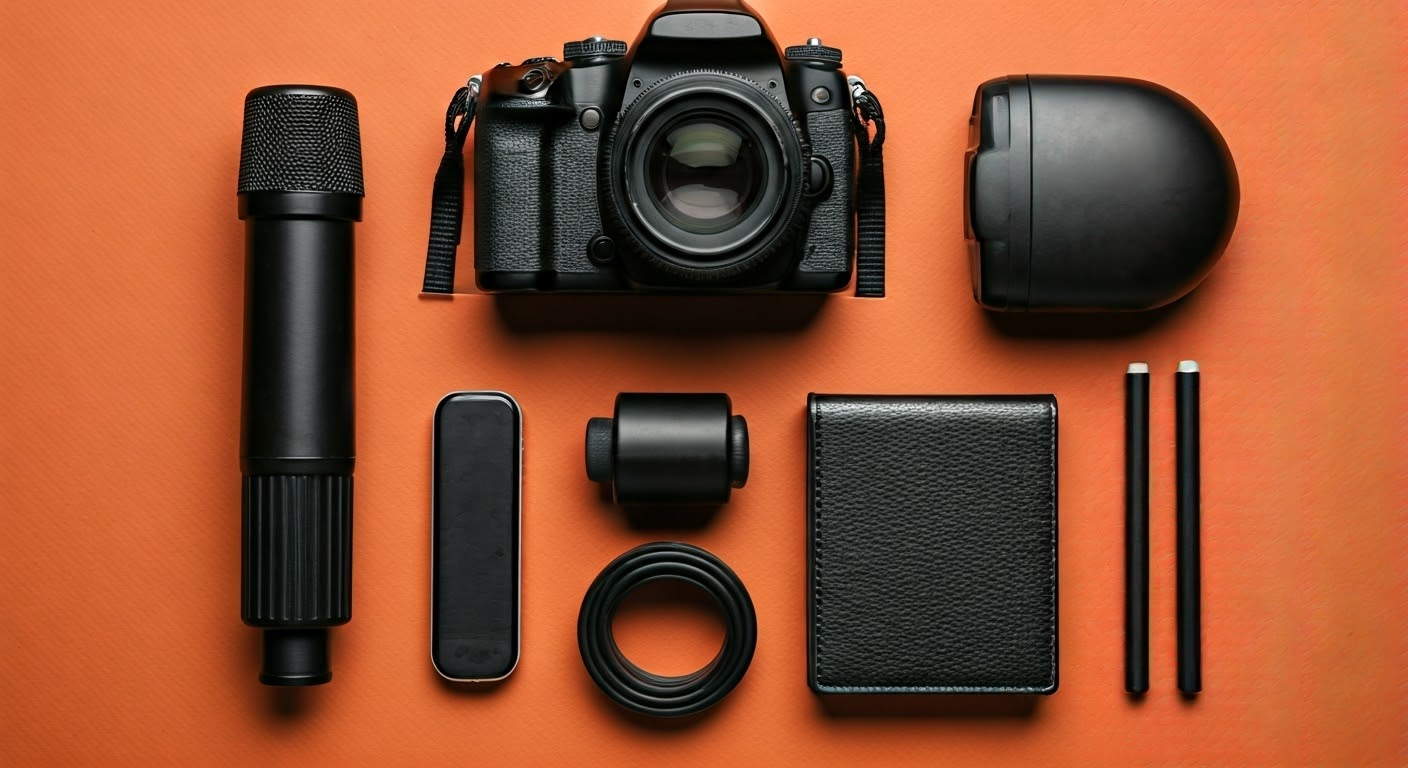
As with any photoshoot, having the right equipment can make all the difference in flat lay photography. This includes your camera and a suitable lens, a sturdy tripod with an extended arm, an adequate lighting setup, and various shooting surfaces to provide different backgrounds. Let’s comprehensively understand these tools to help you select the best equipment fit for your needs.
Camera and Lenses
Your most essential tools for flat lay photography are a quality camera and lenses. A DSLR or mirrorless camera works best paired with a suitable lens—wide-angle for larger setups, standard for a realistic view, or macro for fine details. Each lens offers unique advantages based on your needs.
While smartphones today offer impressive camera features, they may not provide the same level of control and quality that a professional camera can deliver.
Tripod and Tripod Arm
A sturdy tripod is an indispensable tool when shooting flat lays. It provides stability, maintains alignment, and eases adjusting angles. Most importantly, a tripod with a horizontal arm extension allows your camera to hover directly over your setup without interfering with the display. It ensures that every element in your picture remains in focus, providing crisp and clear photos.
Lighting and Accessories
To make your product stand out, you need proper lighting. Natural light is an affordable and often the best option for flat product photography. However, it can be unpredictable and inconsistent. As an alternative, artificial light sources such as LED light panels or soft boxes can provide controllable and consistent light.
Other essential accessories include reflectors to bounce light, diffusers to soften harsh lights, and grey cards for perfect color balance.
Creative Shooting Surfaces
The shooting surface sets the base for your entire frame, contributing significantly to the overall visual appeal. Flat lay photos typically use a plain white background for a clean look.
However, diverse textures and colors can give your images a unique touch and depth. Consider using painted wood planks, marble sheets, textured papers, or fabric.
Best Practices and Tips for Lay Flat Product Photography

Now that we’ve covered the basics and planning process let’s delve into some nifty tips and best practices. These guidelines will help you master the art of flat lay photography, ensuring your shots look professional and effectively grab attention and generate interest in your products. Let’s explore these tips in the following sections.
Shoot in High Resolution
Shooting in high resolution is critical for capturing sharp, detailed images and making post-edit adjustments easier. High-resolution photos offer the flexibility of cropping or resizing images without losing quality, which is particularly beneficial when creating graphics for various platforms, each with its size requirements.
Moreover, detailed photos let customers have a closer look at your products, imitating the experience they would have at a physical store.
Consider Branding
Incorporate your brand identity subtly in your flat lay photos. Be it through the color palette, theme, props, or style, the images should echo your brand’s aesthetics and values. This not only creates consistency across all your visual content but also boosts your brand recall.
Remember, your flat lay photos are a representation of your brand just as much as they are of your products.
Maintain a Consistent Theme
Staying true to your chosen theme throughout is paramount. A consistent theme creates harmony in your images, making them pleasing to the eye. It also helps effectively narrate your story or the mood you intend to convey.
Whether your theme corresponds to a season, occasion, or the product itself, ensure that every element, from the product to the props and the color scheme, aligns uniformly.
Experiment with Negative Space
In the world of design and photography, negative space refers to the empty area around and between the subjects of an image. It’s a powerful tool that you can wield to create impactful images.
Negative space helps highlight the focal point, reducing clutter and giving your photograph a clean, well-balanced appearance. It can guide your viewer’s eye, create emphasis, and enhance the overall composition of the image.
Utilize Textures for Depth
A flat lay photo, by nature, lacks depth because of its two-dimensional top-down perspective. However, you can create an illusion of depth by incorporating textures. Different materials and surfaces captivate the viewer’s interest, making them spend more time examining the image’s elements.
You can add texture through the choice of background, props, or the product itself. Textured fabrics, crumpled paper, textured walls, or wooden planks can all serve as great textural elements that impart depth to your photos.
Also read our blog on the Latest Trends in Fashion Photography
How to Edit Your Flat Lay Photos?
Editing is an essential post-production procedure to refine your photos and bring out the best in them. Even carefully shot flat lay photos can benefit from careful tweaking and editing. Let’s delve into some core editing aspects, including exposure adjustments, white balance, retouching, and enhancing colors and saturation.
Exposure and white balance adjustments
Exposure adjustments control the overall brightness of the image. Photos shot in poor light conditions or under harsh artificial lights might need exposure adjustments. Editing tools like Adobe Lightroom can help you make these modifications with ease, ensuring your photo’s visibility isn’t impeded by too dark or too bright areas.
On the other hand, white balance adjustments maintain the color accuracy of your flat lay photos, countering any distortions that might have crept in during the shoot. It ensures colors, especially whites, don’t lean towards other colors, providing a natural and realistic look to the objects.
Retouching imperfections
Another crucial photo editing stage is retouching, which involves removing or fixing any imperfections. These could range from removing dust or scratches from the product, eliminating unwanted reflections, and smoothing creases on fabrics to straightening lines and enhancing textures.
Retouched images present the product in the best possible light, which is particularly important for eCommerce photography. However, the objective should be enhancing the existing photo, not altering it completely.
Enhancing colors, vibrance, and saturation
The next step in post-production is enhancing colors, vibrance, and saturation. Vibrance caters to muted colors, boosting their intensity without overdoing saturation. Saturation adjustment affects all colors in the image equally, enhancing their intensity.
Considering these parameters ensures that your flat lay photo appears vibrant yet true to the original, without appearing overly edited.
Read: How to Achieve Stunning Product Photography with Models
Need Inspiration for Your Next Shoot? Here are a Few Flat Lay Product Photography Ideas to Consider!
Flat lay photography is incredibly versatile, lending itself to a wide range of creative approaches. Before starting, it helps to have a specific style in mind. Here are some popular flat lay techniques to inspire your next shoot:
Bold Minimalism
Leverage the flat lay’s natural ability to simplify depth, creating clean, graphic compositions. Focus on negative space and tightly control the color palette—monochrome works exceptionally well. Props don’t need to be fully in the frame; strategic placement is key. Whether natural or studio-based, creative lighting can transform minimalist setups into bold, striking visuals.
Rich Maximalism
Take the opposite approach by filling the frame with organized chaos. Highlight a hero product and use props to tell a compelling story, balancing the composition without overwhelming it. Textured backdrops can add depth and intrigue. Be mindful not to confuse viewers; every element should serve the narrative.
Patterns
Showcase variety by arranging multiple versions of a product in repetitive patterns. Use lighting to enhance shadows and textures, creating a dynamic visual effect. Patterned flat lays are not only eye-catching but also perfect for social media engagement.
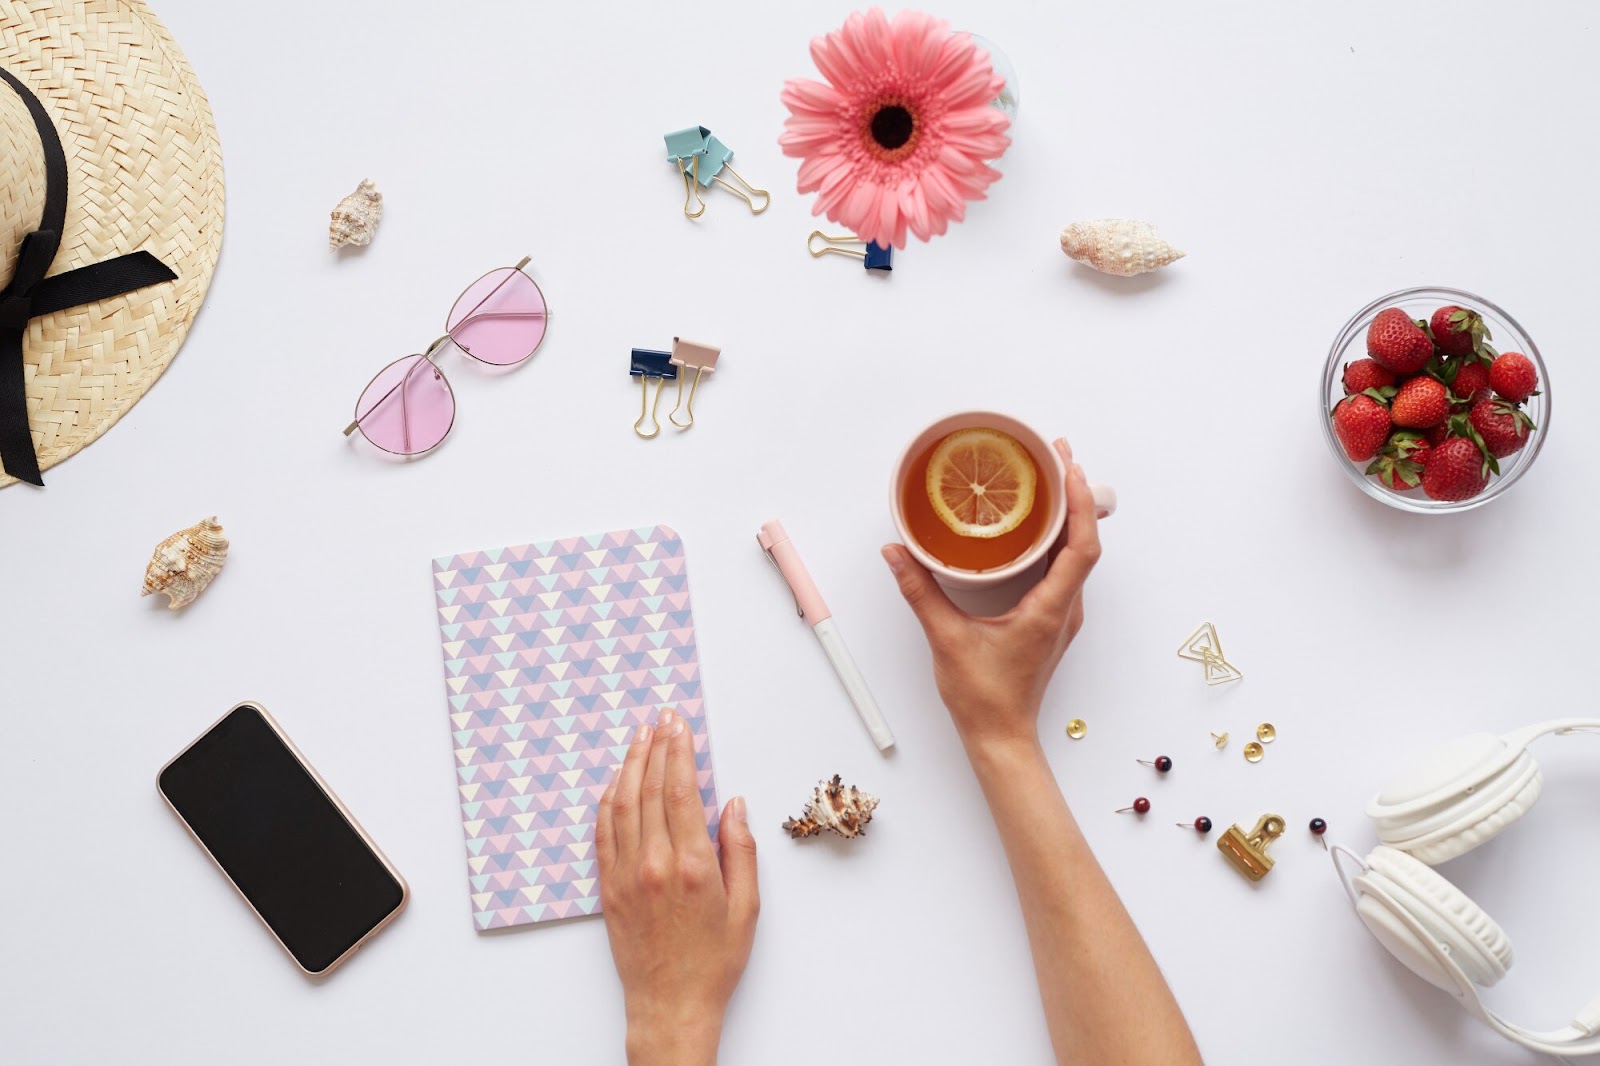
The Human Touch
Incorporate hands to bring a relatable, personal element to your shots. Demonstrating how a product is used or held adds context and helps customers envision owning it. If you lack a professional hand model, enlist a friend with clean, well-groomed hands to assist.
Also read: 25 Fashion Photography Poses to Try
Get the Perfect Flay Lay Product Photos with Flix Studio
If you find the task of creating impeccable flat lays daunting or overly time-consuming, don’t worry! Turn to Flix Studio, where we handle all your photography needs, end-to-end.
At Flix Studio, our team of professional photographers understands your brand vision and crafts images that not only grab attention but also tell a story and enhance your online presence. With meticulous planning, state-of-the-art equipment, and apt skills, we ensure each photo is high-quality, appealing, showcases your product in the best light, and aligns with your brand image.
Let us assist you in showcasing your products effectively to drive your business further!
Conclusion
Mastering flat lay product photography is a journey that goes beyond simply arranging items and capturing them from above. It involves thoughtfully choosing themes, planning layouts, selecting backgrounds, perfecting lighting, setting your camera, fine-tuning details, experimenting with angles, managing space, and refining every element of your composition. And the process doesn’t end there—post-production editing and touch-ups are essential to achieving flawless results.
By following the steps and tips shared in this blog, you can create captivating flat lay photos that make your products stand out and engage your target audience. Let your creativity flow, practice consistently, and watch as your flat lay photography elevates your brand and captivates consumers!
Frequently Asked Questions
What is a flat lay product photography?
Flat lay product photography is a technique where items are arranged and photographed from a top-down perspective. It helps showcase products creatively and attractively and is often used in e-commerce and social media for visually appealing displays.
How can flat lay photography improve my business’s online presence?
Flat lay photography can enhance your business’s online presence by creating visually appealing product images that attract and engage customers. High-quality flat lay images can showcase your products in a compelling way, increase brand recognition, improve your social media aesthetic, and ultimately, boost sales.
How to use your flat lay photos?
Your flat lay photos can be used in several ways. You can incorporate them into your e-commerce site, product catalogs, brochures, advertising materials, and digital marketing campaigns. They work exceptionally well on social media platforms like Instagram, Facebook, and Pinterest, helping to attract potential customers and engage with your existing audience.